If you've ever recorded music on more than one track, you already have stems. You just might not call them that.
Stems, explained simply
A stem is a single audio file containing one instrument or one microphone's recording. When you record a band with separate mics on kick, snare, bass, two guitars, and vocals, each of those recordings is a stem.
The word comes from professional studios, but the concept is basic. It's just one track, isolated from everything else.
Why stems matter for mixing
When all your instruments are baked into a single stereo file, there's very little you can fix. If the guitar is too loud, you can't turn it down without turning everything else down too. If the vocals need more presence, tough luck.
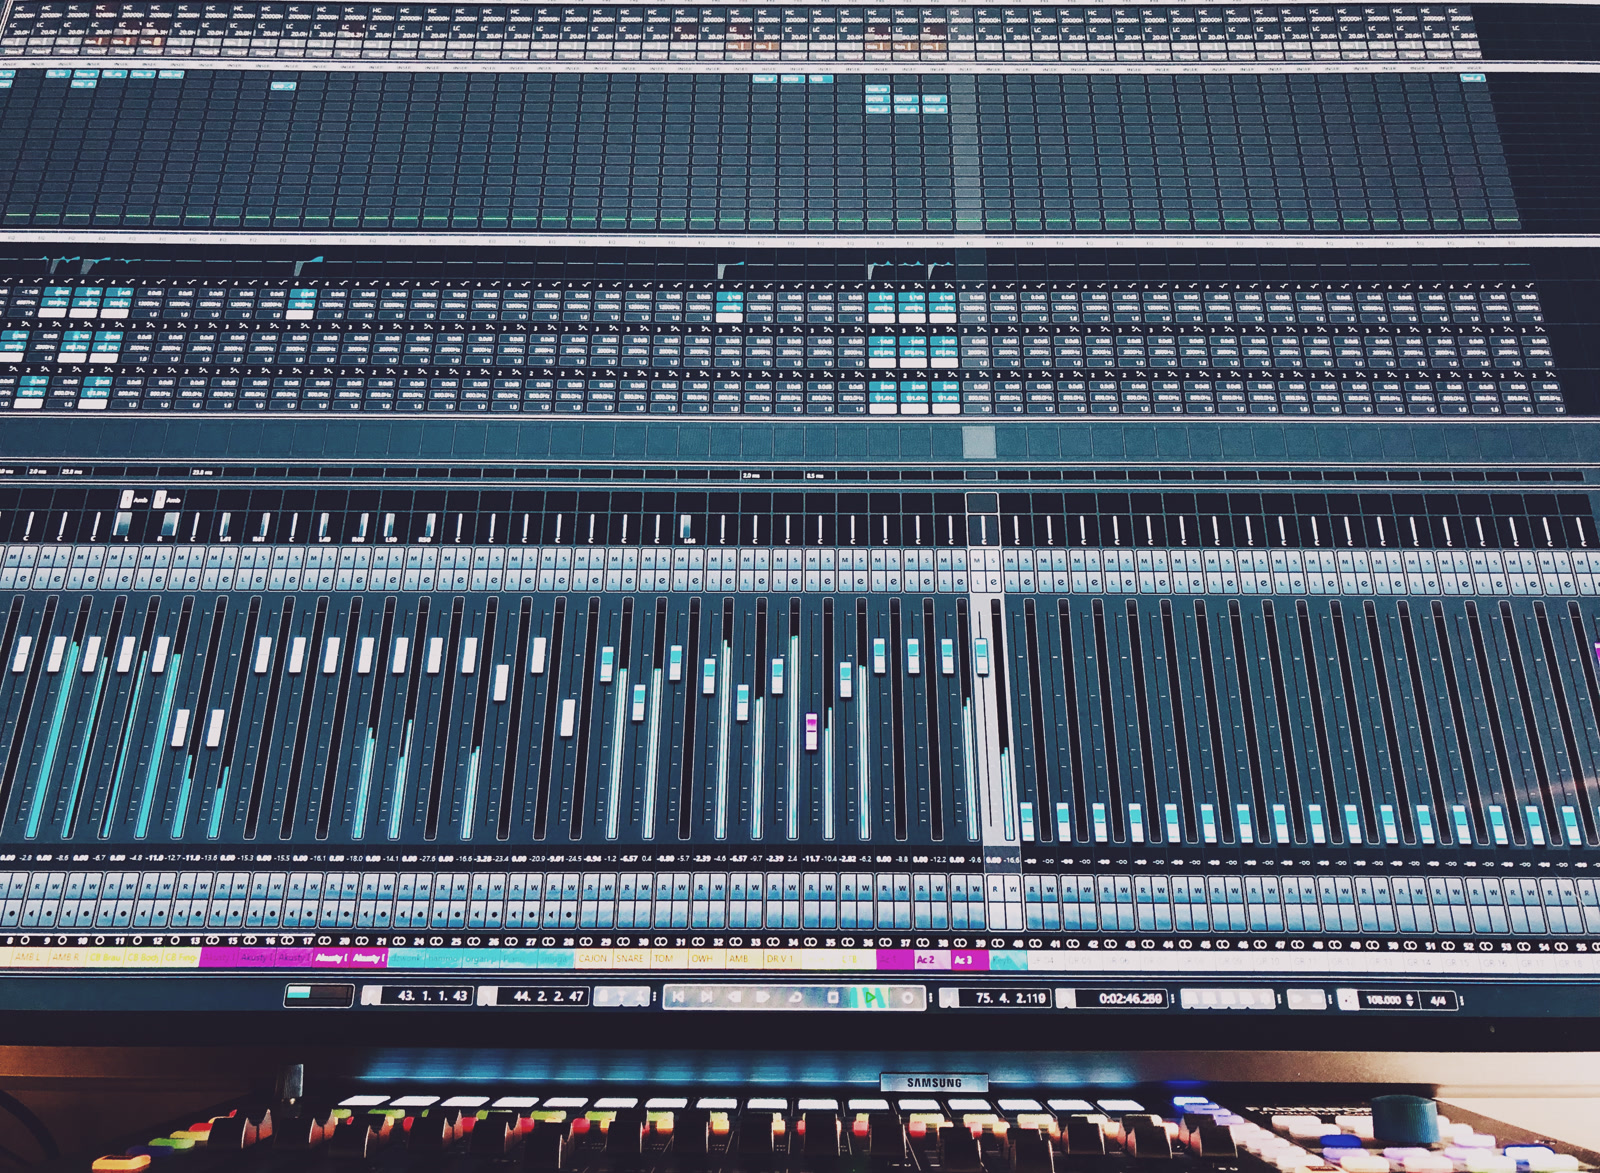
With individual stems, every instrument can be adjusted independently. Turn the bass up, add reverb to the vocals, pan the guitars wide, compress the drums. That's what mixing is: balancing and shaping individual elements into a cohesive whole.
The better your stems, the better your mix. It's that simple.
How to export stems from your DAW
Most recording software makes this straightforward.
GarageBand (Mac): GarageBand has no "export all tracks" option. Solo each track, then Share > Export Song to Disk, save as WAV. Repeat for every track. Remove effects before exporting if you want clean stems. (Apple Support)
Logic Pro (11+): File > Export > All Tracks as Audio Files. Pick WAV and 24-bit. Logic exports every track as a separate file in one go. (Apple Support)
Ableton Live (12): Cmd+Shift+R (Ctrl+Shift+R on Windows) to open Export Audio/Video. Set "Rendered Track" to "All Individual Tracks." Make sure the render range covers the full arrangement. (Ableton Help)
Reaper (7): File > Render. In the "Source" dropdown, select "Stems (selected tracks)." Use the $track wildcard in the filename field so each file gets named after its track. (Reaper Wiki)
Pro Tools (2024+): Use Track Bounce to export individual track outputs as separate files. Make sure every bounce starts at bar 1 so files align when imported elsewhere. (Pro Tools Guide)
FL Studio (2024+): Ctrl+R (Cmd+R on Mac) to open the export dialog. Check "Split mixer tracks" to get a separate file per mixer channel. Each instrument needs its own mixer track. Uncheck master effects so they don't get baked in. (Image-Line)
In all cases, export as WAV if possible. WAV is uncompressed, which means no quality loss. FLAC is also good (lossless but smaller). MP3 works in a pinch but throws away audio data you can't get back.
What makes a good stem
A few things to keep in mind when exporting:
Same length. All stems should start at the same point and be the same duration. This ensures they line up when mixed. Most DAW export functions handle this automatically.
No master effects. Export stems dry, without effects on the master bus. EQ, compression, and reverb on individual tracks are fine if that's part of the sound, but master bus processing should be off.
Descriptive filenames. Name your files after what they contain: "kick.wav", "bass_di.wav", "vocal_lead.wav". Bandmixr reads filenames to identify instruments automatically, so clear names save you a step.
Reasonable levels. Stems don't need to be loud. Leave headroom. If your peaks sit around -6 dB, that's plenty of room for mixing.
How stems work in Bandmixr
Upload your stems to a project. The system reads each filename to guess the instrument, then runs a full analysis (loudness, frequency content, dynamics, clipping, noise). You can relabel any stem if the auto-detection gets it wrong.
From there, the mixing engine processes each stem individually before combining them into a final mix.
You don't need 24 tracks for a good mix. Even four or five well-recorded stems (drums, bass, guitar, vocals) can produce great results.